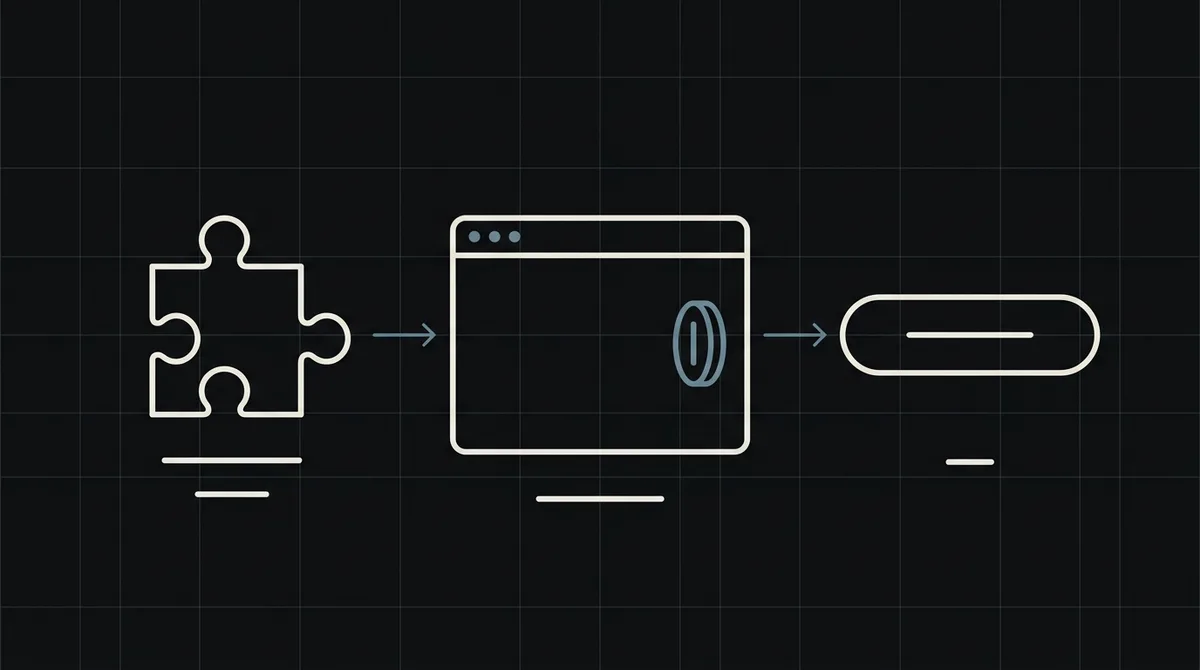
Crypto payment button for websites
How to add a Pay with crypto button to a website: why the button cannot call the payment API directly, the three-step pattern, working front-end and server code, and what to protect.
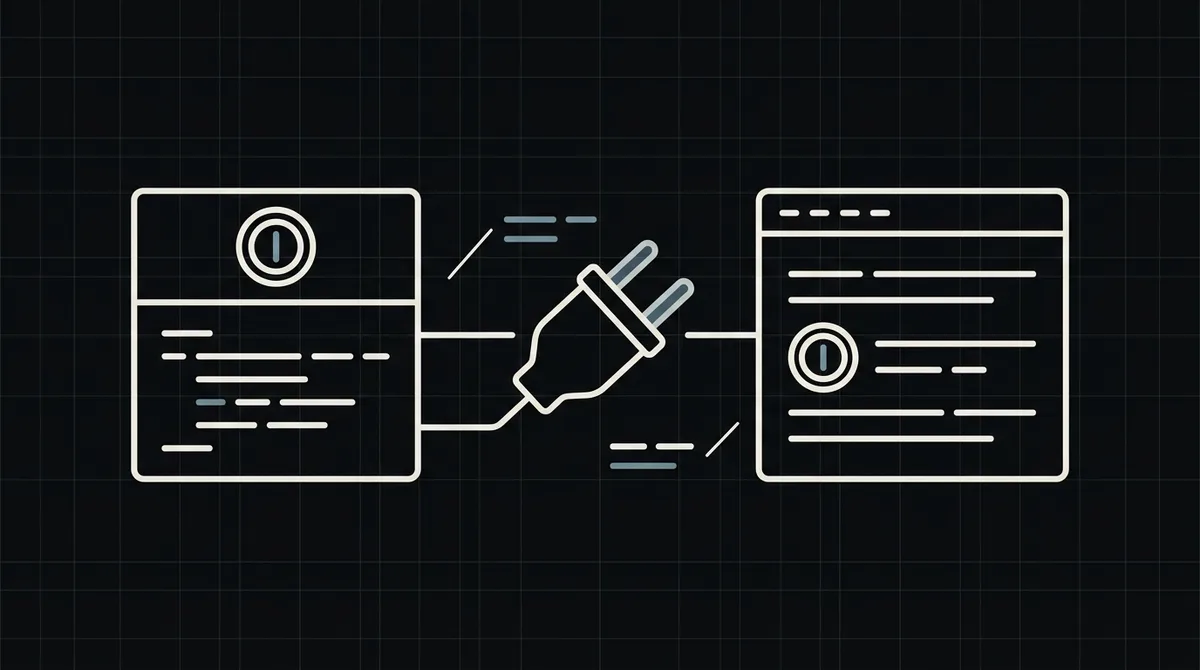
A "Pay with crypto" button is easy to add, but it cannot be a copy-paste snippet: creating a payment needs your secret API key, which must never reach the browser. The button therefore has to talk to your own server, which creates the payment and hands back the address of the payment page. This guide shows that pattern with working code and the points that keep it safe.
Why there is no copy-paste button yet
Many payment providers give you an embeddable button or widget. Qvard has no no-code button yet: payment links are in development. The embedded checkout is a ready widget for your site. The SDKs for Node.js, PHP, Python, Go and Java are ready. Today the integration is through the API, and the API is authenticated with a secret key in the Authorization: Bearer header.
That key can create payments for your project, so it must stay on your server. A button that carries the key in front-end code would hand it to every visitor. This is not a limitation to work around; it is the reason the pattern below has a server step.
The pattern: button, your endpoint, payment page
Three steps make a working button:
- The button sends a request to an endpoint on your server, saying what the visitor wants to buy (a product, a plan), not how much it costs.
- Your endpoint looks up the price, creates your own order record and calls Qvard: one
POSTtohttps://api.qvard.com/api/v1/paymentwith the key in theAuthorization: Bearerheader and a JSON body with your order number asidand the amount aspricein US dollars. The response is201with aredirectUrl. - The browser is redirected to that
redirectUrl, the Qvard hosted payment page, where the visitor chooses an asset and a network and pays from a wallet.
Nothing secret ever touches the page, and the payment page itself is hosted by Qvard, so you do not build a crypto checkout.
The front-end: a button and a redirect
The button needs about fifteen lines. It disables itself while the request runs, sends the product identifier, and on success sends the browser to the returned address. On failure it re-enables the button and shows a message, so the visitor can try again.
Keep one rule in mind: the browser sends what is bought, never how much. If the amount came from the page, anyone could open the developer tools and change a 49-dollar plan into a one-dollar payment.
<button id="pay-crypto" data-product="pro-plan">Pay with crypto</button>

<script>
  document.getElementById('pay-crypto').addEventListener('click', async (event) => {
    const button = event.currentTarget;
    button.disabled = true;
    try {
      // Send only WHAT is being bought; the server decides the price.
      const res = await fetch('/api/crypto-checkout', {
        method: 'POST',
        headers: { 'Content-Type': 'application/json' },
        body: JSON.stringify({ product: button.dataset.product })
      });
      if (!res.ok) throw new Error('checkout failed');
      const { redirectUrl } = await res.json();
      window.location.assign(redirectUrl);   // the Qvard hosted payment page
    } catch (e) {
      button.disabled = false;
      alert('Could not start the payment. Please try again.');
    }
  });
</script>The server: price, order, payment
The endpoint in the example does four things:
- Looks up the price from a table on the server and rejects unknown products.
- Creates your own order and uses its number as the payment
id. This is how the webhook later finds the order. - Calls Qvard and returns only the
redirectUrlto the browser. A400answer ("Error validation", with a message per field) means the body was wrong; a401means the key is wrong. Neither should be retried unchanged. - Is safe to repeat. Sending the same
idfor the same payment method returns the existing payment, so a visitor who clicks twice does not create two.
Add rate limiting to the endpoint so that nobody can create thousands of unpaid orders, and require a logged-in user or a captcha if your product needs it.
import express from 'express';
import crypto from 'node:crypto';

const app = express();
const PRICES_USD = { 'pro-plan': 49 };          // prices live on the server, never in the browser

app.post('/api/crypto-checkout', express.json(), async (req, res) => {
  const price = PRICES_USD[req.body.product];
  if (!price) return res.sendStatus(400);

  const orderId = await db.orders.create({ product: req.body.product, amountUsd: price }); // your own order number

  const response = await fetch('https://api.qvard.com/api/v1/payment', {
    method: 'POST',
    headers: { Authorization: 'Bearer ' + process.env.QVARD_API_KEY, 'Content-Type': 'application/json' },
    body: JSON.stringify({ id: String(orderId), price })
  });
  if (response.status !== 201) return res.sendStatus(502);

  const { redirectUrl } = await response.json();
  res.json({ redirectUrl });
});
After the click: the webhook decides
Redirecting the visitor to the payment page starts the payment; it does not finish it. When the payment is completed, Qvard calls the callback URL saved in your project with your id and the status completed. Only then grant access or mark the order paid. The endpoint must answer exactly HTTP 200 and be safe to run twice; see how to secure crypto payment webhooks.
Return URLs after payment are not available yet, so the visitor comes back to your site on their own. Give them a page that shows the real order status and refreshes while it is waiting, not a thank-you page that assumes success.
Fixed prices, variable amounts and what is next
- Fixed prices (plans, products) are the easy case: the table on the server holds them.
- Variable amounts (donations, top-ups) need validation on the server: a minimum, a maximum and a number check. An amount below the minimum of the chosen payment method is rejected with a
400. - Several buttons share the same endpoint; only the product identifier differs.
If you only need the full walkthrough, see how to accept crypto payments on a website, and for the API itself crypto payment API for developers. A demo invoice shows the page the button leads to; commercial terms are on the pricing page.
FAQ
Can I put the Qvard API key in the button code?
No. The key can create payments for your project and must stay on your server. The button should call your own endpoint, which calls Qvard.
Is there an embeddable widget or no-code button?
Yes, the embedded checkout is a ready widget for your site. There is no no-code button yet: payment links are in development. The SDKs are ready. Today the integration uses the API with a small server endpoint.
Where should the price come from?
From your server, never from the browser. The button sends only what is bought, and the server decides the price in US dollars.
How do I know the customer paid?
From the webhook that Qvard sends when the payment completes. Redirecting the visitor back is not proof of payment.